Streamlit - 레이아웃

시각화를 위한 툴 답게, Streamlit은 웹의 화면구성을 여러가지 방법으로 표현할 수 있다. 표현 방법에 따라 마치 동적웹페이지의 그것처럼 활용이 가능한데, 해당 기능에 대해 알아보자.
● sidebar
sidebar는 웹 화면의 사이드에 위치하고, 특정 화면으로 넘어갈 수 있게끔 하는 장치이다.
with st.sidebar.selectbox(): 를 통해 작성하고, sidebar안의 구성요소 및 변경 내용을 작성할 수 있다.
import streamlit as st

st.title('Unit 5. Layouts & Containers')  # 제목 생성

with st.sidebar:                          # 사이드바 생성
    st.header('1. Sidebar')

add_selectbox = st.sidebar.selectbox(     # 사이드바에 selectbox 추가가 가능하다.
     '오늘 저녁엔 뭐먹지?',                # selectbox에 대한 설명
     ('pizza', '피자', 'pineapple_pizza') # selectbox 구성요소 입력 가능
)

if add_selectbox == 'pizza':              # if문을 통해 sidebar의 간단한 구성요소를 넣어보자.
    st.sidebar.title('🍕')
    st.image('https://imgcdn.pji.co.kr/pc/img/menu/detail/1656_10.png')
elif add_selectbox == '피자':
    st.sidebar.title('💛')
    st.image('https://imgcdn.pji.co.kr/pc/img/menu/detail/1001_10.png')
else :
	st.sidebar.title('😈')
    st.image('m_20220206094252_6Dh8BXkLor.jpg')
이런 코드셋을 입력하면,
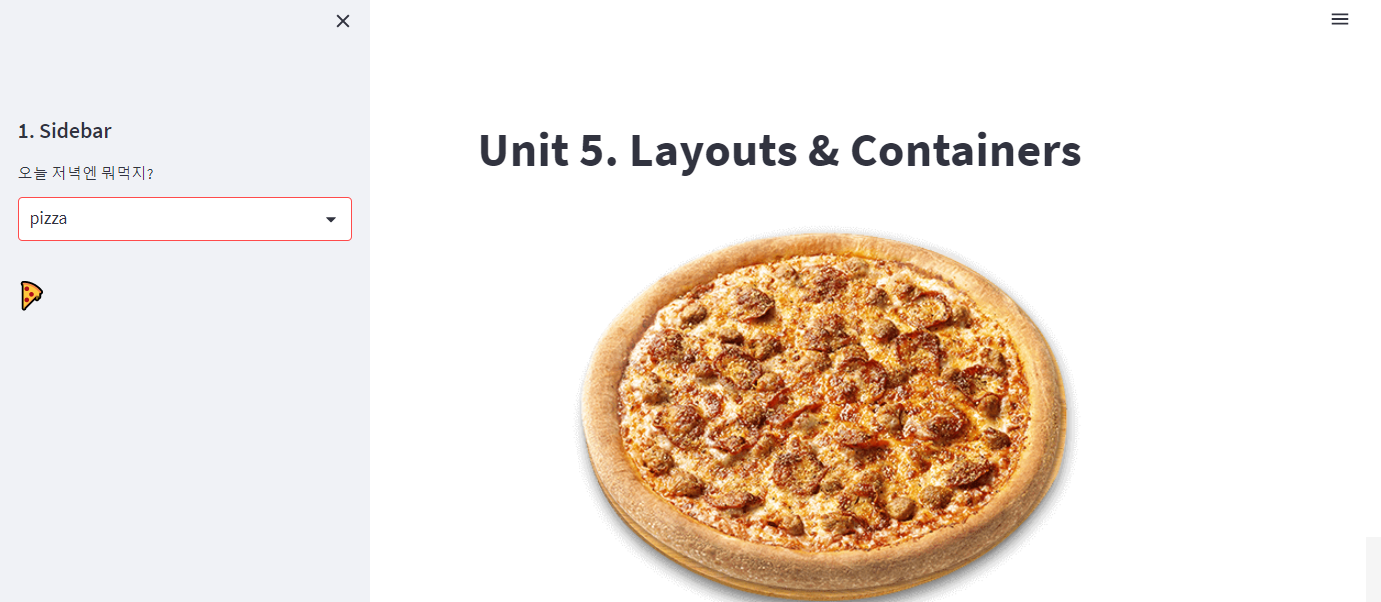
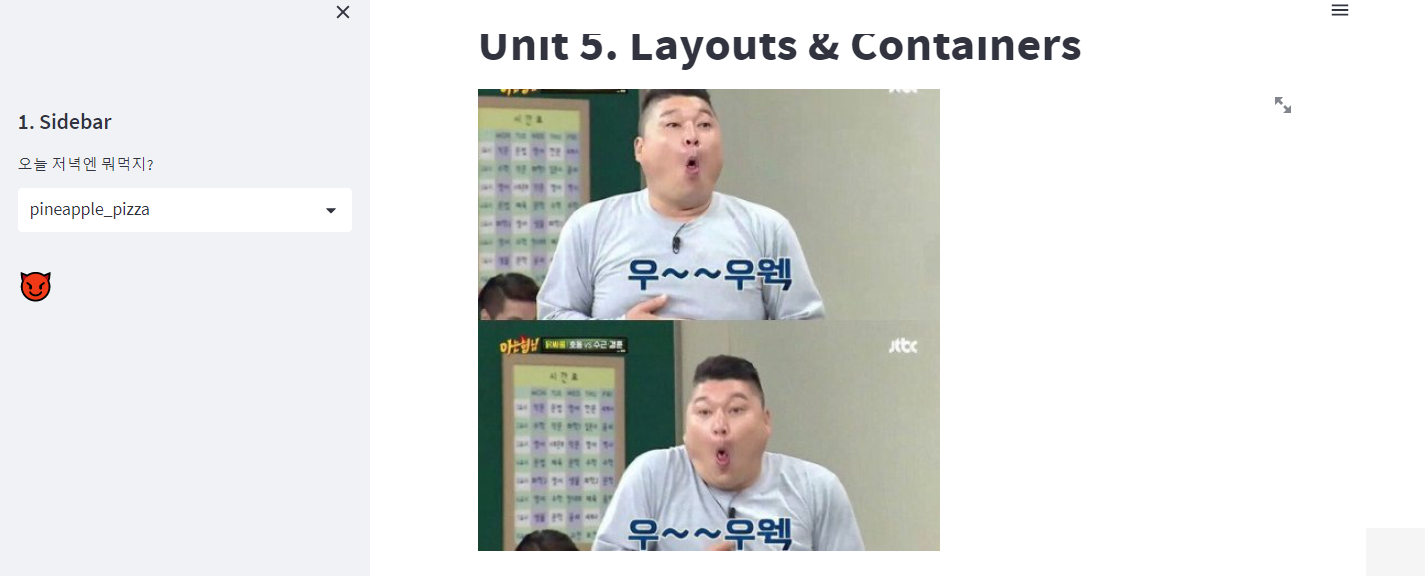
다음과 같이 사이드바 selectbox에 따른 웹 구성이 가능하다.
● Columns
한 화면(한 줄)에 여러 구성요소들을 넣고싶을 때, 화면 크기를 잘라서 넣을 수 있도록 하는 기능이다.
col1, col2, col3 = st.columns(n)를 통해 작성이 가능하다.
(x)안에 int형 숫자를 넣으면 숫자 개수만큼 자료를 나눌 수 있고, 리스트 안에 float형 숫자를 넣으면 비율로 나눌 수 있다.
기존 작성했던 페이지에 column을 이용한 작업을 진행해보자.
if add_selectbox == 'pizza':              # if문을 통해 sidebar의 간단한 구성요소를 넣어보자.
    st.sidebar.title('🍕')
    st.header('2. Columns')
    col1, col2, col3 = st.columns(3)      # 개수로 column의 개수 나눠줌
    with col1:
        st.text("John's favorite")
        st.image('https://imgcdn.pji.co.kr/pc/img/menu/detail/1656_10.png')
    with col2:
        st.text('super papas')
        st.image('https://imgcdn.pji.co.kr/pc/img/menu/detail/1000_10.png')
    with col3:
        st.text('all meat')
        st.image('https://imgcdn.pji.co.kr/pc/img/menu/detail/1001_10.png')
elif add_selectbox == '피자':
    st.sidebar.title('💛')
    st.image('https://imgcdn.pji.co.kr/pc/img/menu/detail/1001_10.png')
else:
    st.sidebar.title('😈')
    col1, col2, col3 = st.columns([0.2,0.15,0.1]) #float형 숫자로 비율 지정
    with col1:
        st.text("John's favorite")
        st.image('cat1.png')
    with col2:
        st.text('super papas')
        st.image('m_20220206094252_6Dh8BXkLor.jpg')
    with col3:
        st.text('all meat')
        st.image('pepe.jpg')
이런 코드셋으로 수정을 진행하면,
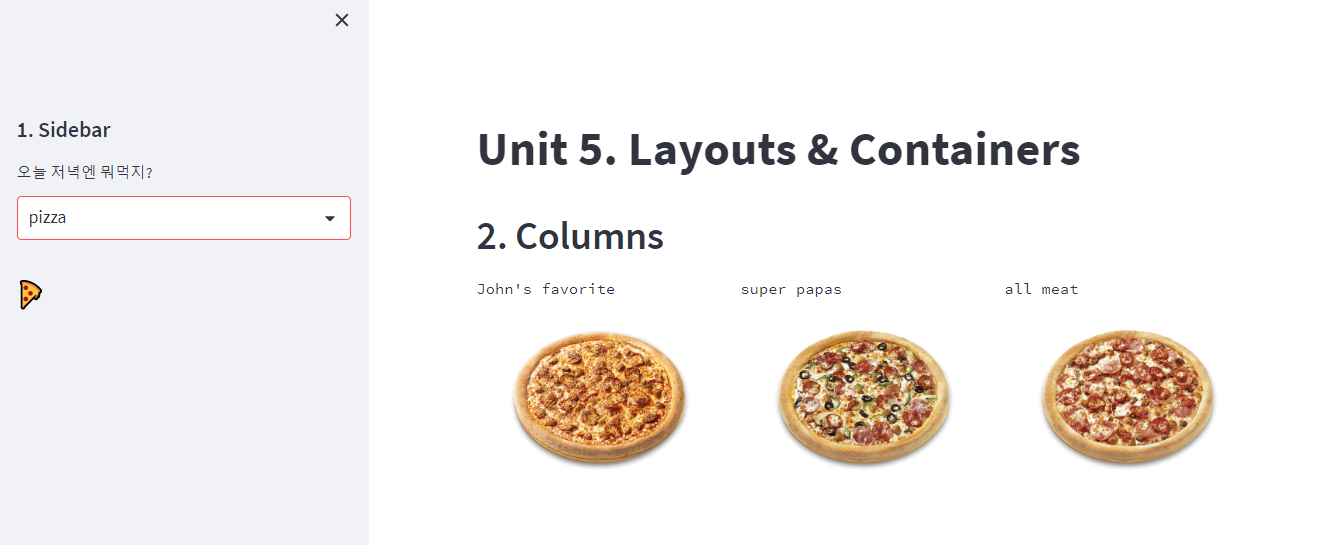
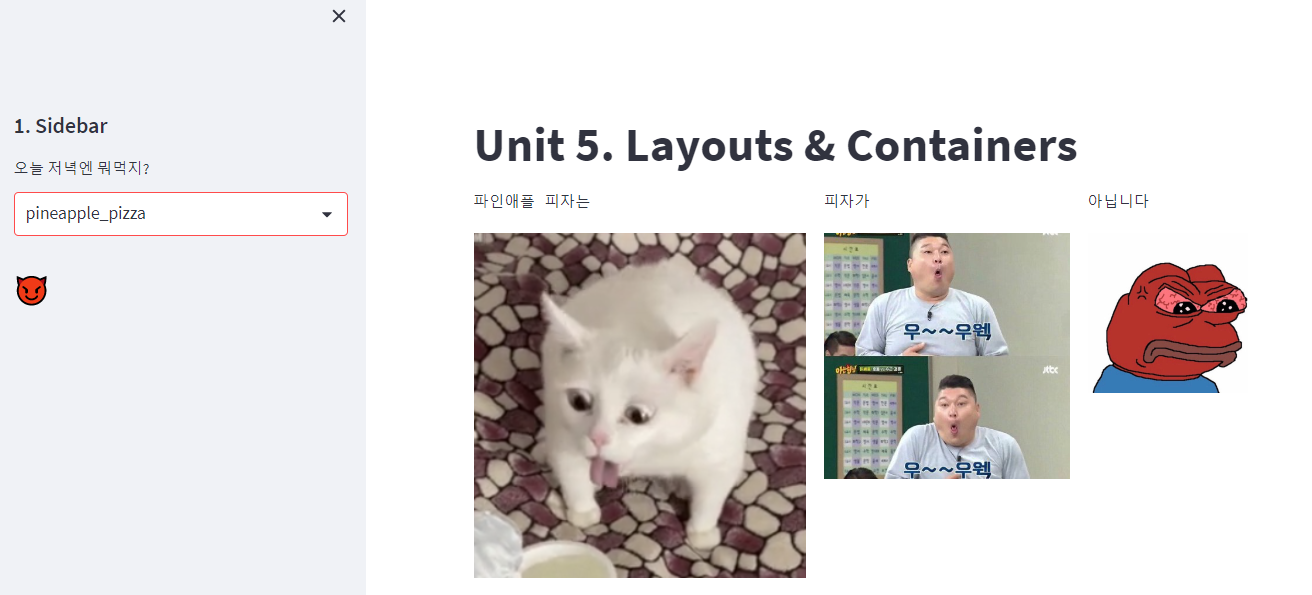
다음과 같은 출력이 가능하다.
● Tabs
사이드바가 사이드에서 동적 움직임을 진행했다면, Tab은 위에서 동적 움직임을 가져다 줄 수 있다.
tab1, tab2, tab3 = st.tabs(['넣고싶은','tab의','이름'])을 통해 작성 가능하다.
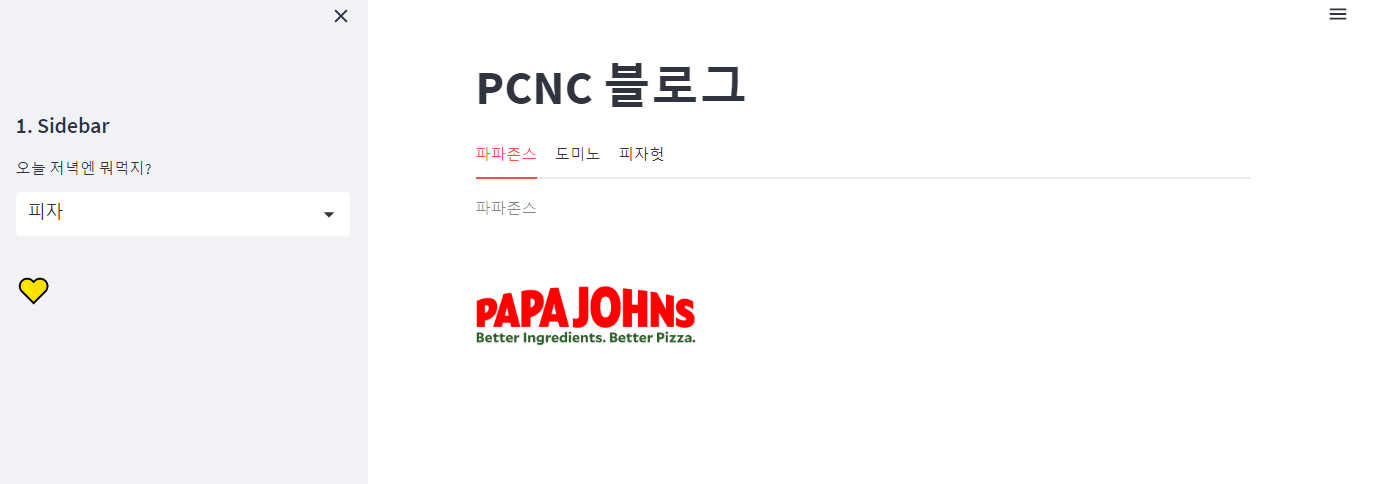
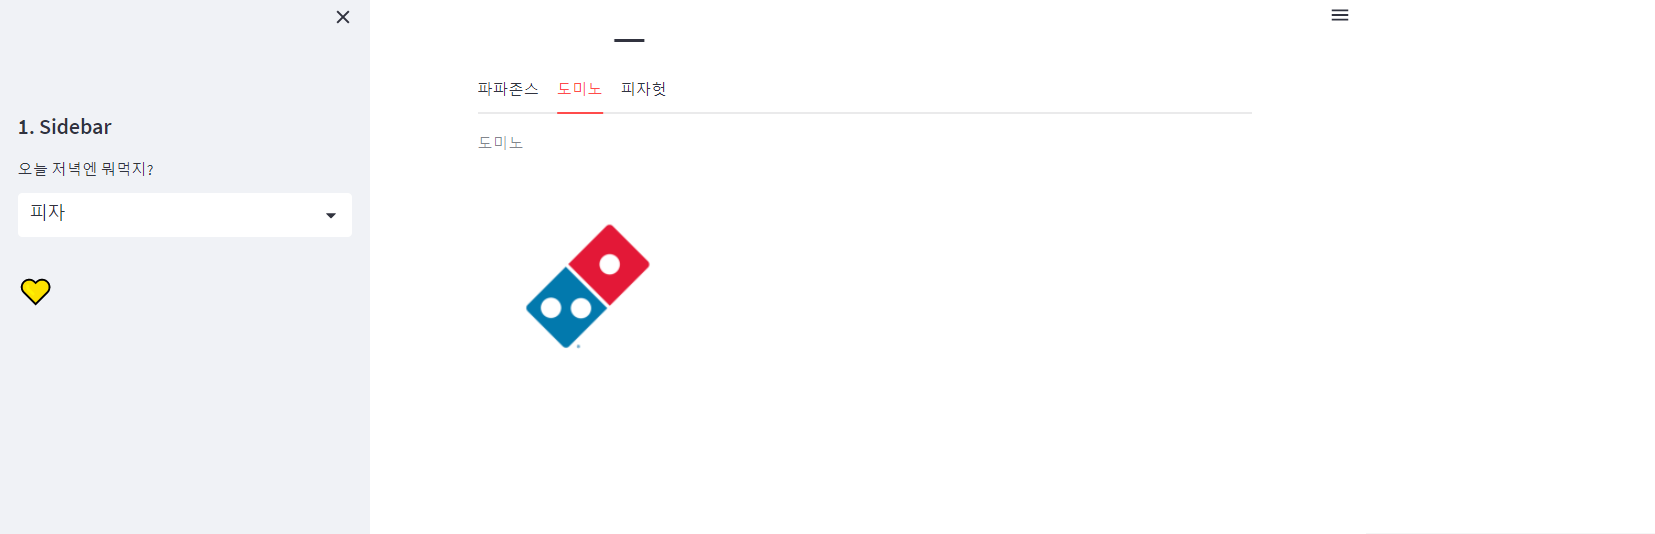
위에서 작성한 두번째 selectbox에 다음과 같은 코드셋을 작성했다.
elif add_selectbox == '피자':
    st.sidebar.title('💛')
    with tab1:
        st.caption('파파존스')
        st.image('https://imgcdn.pji.co.kr/pc/img/store/brand/220301_icon_company_brand_logo.jpg', width=200)
    with tab2:
        st.caption('도미노')
        st.image('domino.png', width=200)
    with tab3:
        st.caption('피자헛')
        st.image('pizzahut.png', width=200)
이제 다음과 같은 페이지를 확인할 수 있다.
● 응용
관리가 용이하도록, 페이지를 함수화 시켜 딕셔너리 형태에 저장하고, 페이지로 만들 수 있다.
기존 사이드바 형태로 지정했던 페이지를 응용해보자.
import streamlit as st

def main_page():
    st.title('PCNC 블로그')  # 제목 생성
    st.sidebar.title('🍕')
    col1, col2, col3 = st.columns(3)      # 개수로 column의 개수 나눠줌
    with col1:
        st.text("John's favorite")
        st.image('https://imgcdn.pji.co.kr/pc/img/menu/detail/1656_10.png')
    with col2:
        st.text('super papas')
        st.image('https://imgcdn.pji.co.kr/pc/img/menu/detail/1000_10.png')
    with col3:
        st.text('all meat')
        st.image('https://imgcdn.pji.co.kr/pc/img/menu/detail/1001_10.png')

def page2():
    st.title('PCNC 블로그')  # 제목 생성
    st.sidebar.title('💛')
    tab1, tab2, tab3 = st.tabs(['파파존스', '도미노', '피자헛']) #나누고 싶은 개수만큼 TAB이름을 입력해주자.
    with tab1:
        st.caption('파파존스')
        st.image('https://imgcdn.pji.co.kr/pc/img/store/brand/220301_icon_company_brand_logo.jpg', width=200)
    with tab2:
        st.caption('도미노')
        st.image('domino.png', width=200)
    with tab3:
        st.caption('피자헛')
        st.image('pizzahut.png', width=200)

def page3():
    st.title("PCNC 블로그")
    st.sidebar.title('😈')
    col1, col2, col3 = st.columns([0.2,0.15,0.1]) #float형 숫자로 비율 지정
    with col1:
        st.text("파인애플 피자는")
        st.image('cat1.png')
    with col2:
        st.text('피자가')
        st.image('m_20220206094252_6Dh8BXkLor.jpg')
    with col3:
        st.text('아닙니다')
        st.image('pepe.jpg')

# 딕셔너리 선언 {  ‘selectbox항목’ : ‘페이지명’ …  }
page_names_to_funcs = { "menu": main_page, "brand": page2, "pineapple pizza": page3 }

# 사이드 바에서 selectbox 선언 & 선택 결과 저장
selected_page = st.sidebar.selectbox("오늘 저녁에 뭐먹지(페이지 선택)", page_names_to_funcs.keys())

# 해당 페이지 부르기
page_names_to_funcs[selected_page]()
다음과 같이 기존의 코드셋을 함수화하고 딕셔너리에 입력하게 되면, 결과는 기존과 똑같지만 조금 더 객체지향적인 프로그래밍이 가능하다.
페이지 구성은 여기까지.